Getting started on iOS
IOS SDK uses the SwiftUI API for UI rendering, networking is handled by Kotlin Multiplatform Mobile and this part of the SDK is same for Android and iOS. You can check external dependencies for this module here. Our tests show that SDK will increase your app approximately by 6MB in download size and 18MB in install size.
The Dateio SDK for iOS is supported starting from iOS 16.0.
Although the SDK may function on iOS 14.0 and later, these versions are not officially supported due to low adoption. Versions below iOS 14.0 are not supported due to technical limitations.
Components can be easily integrated into the UIKit framework via UIHostingControllers.
Adding SDK to project
The SDK can be added into your project manually or by Cocoapods / Swift Package Manager.
CocoaPods / Swift Package Manager integration
Dateio does not provide public access to its repository. To integrate using CocoaPods or Swift Package Manager, you must either use your private server (repository) or create a local package.
More detailed information can be found here:
- CocoaPods - Private Pods
- Apple - Swift Package Manager - private repositories
- Medium - Swift Package in a Private Github Repo and as dependency with Xcode
- Medium - Swift Package Manager Remote Private Packages With Dependency
Manual integration
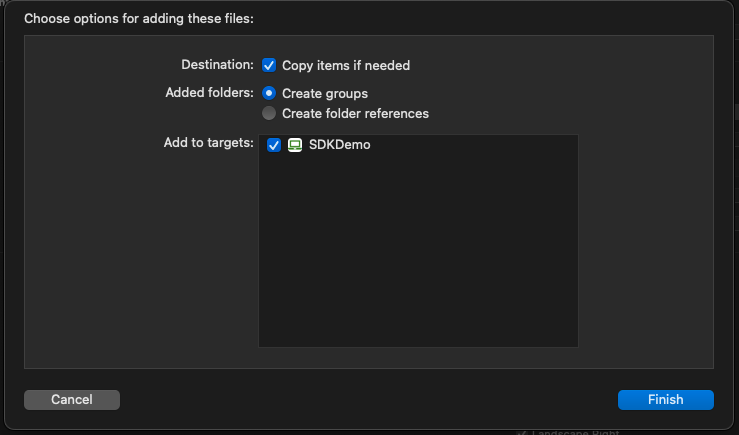
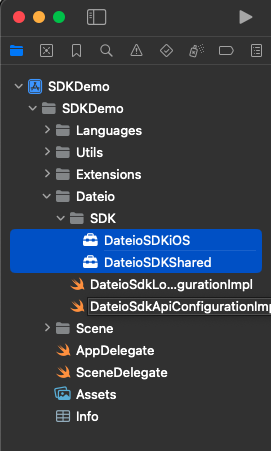
The SDK is delivered in two files (DateioSDKiOS.xcframework, DateioSDKShared.xcframework). These files have to be added to the Xcode project. Don't forget to check the box Destination: Copy items if needed.
Next step is Embed and sign the SDK framework. Go to the Targets and click on desired project target and on tab General.
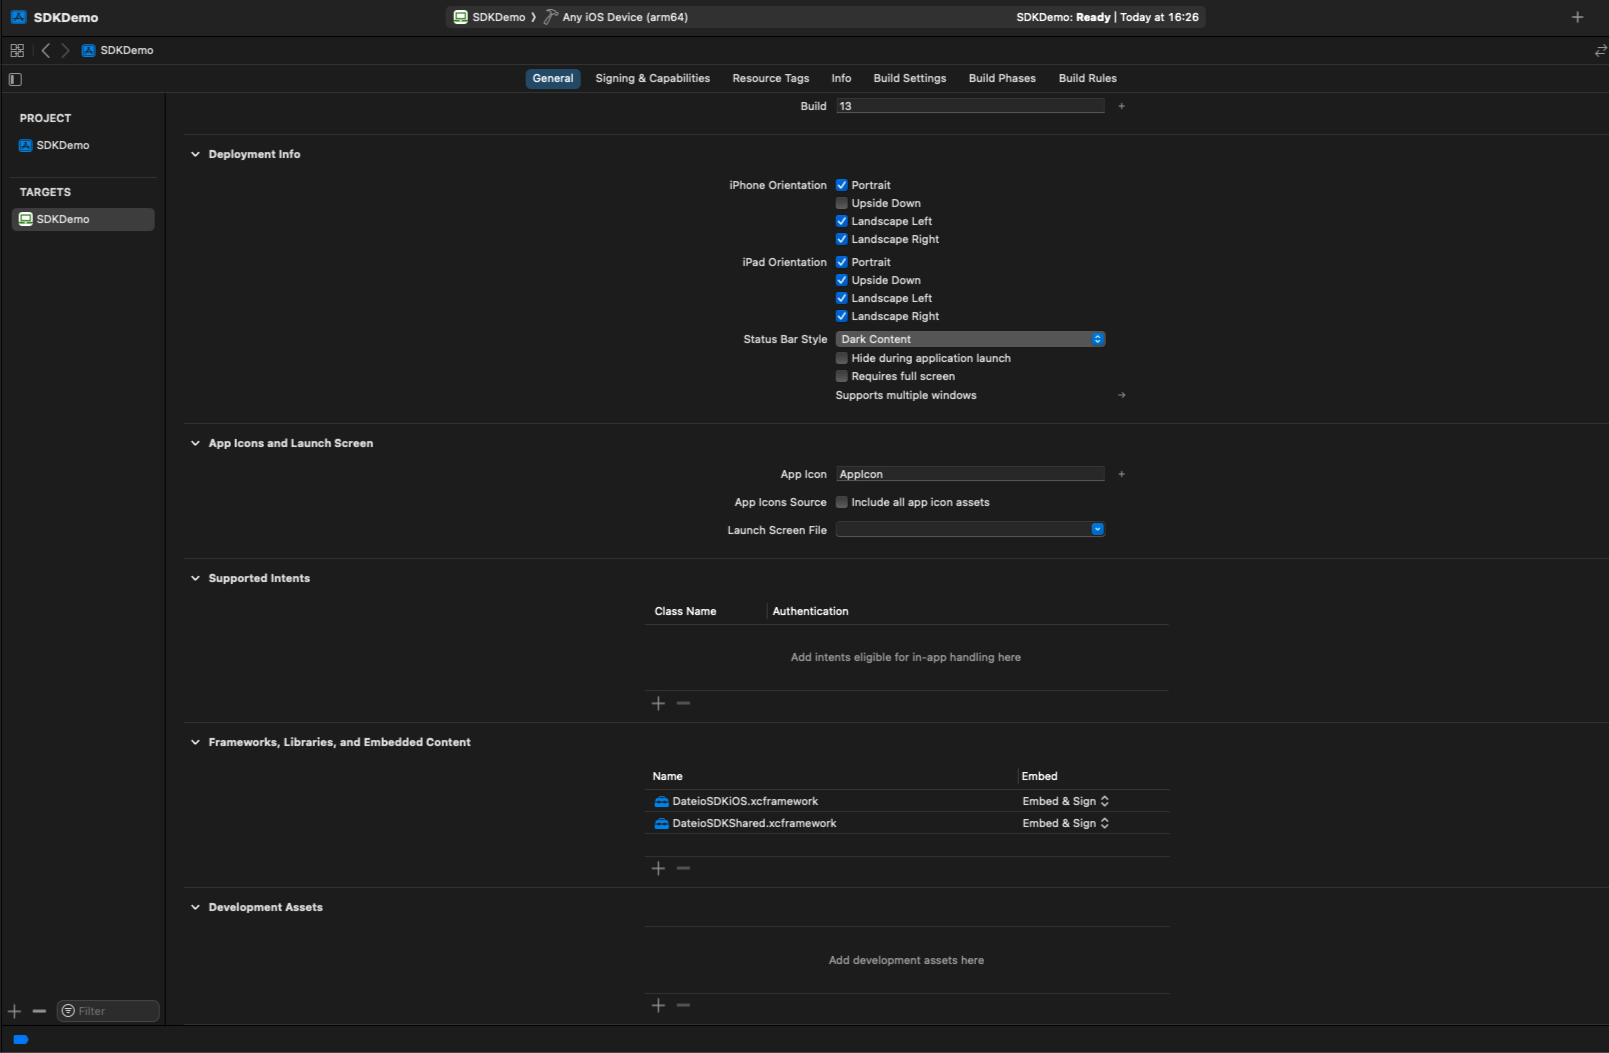
Find section Frameworks, Libraries, and Embedded Content, click on the DateioSDKiOS.xcframework and choose Embed & Sign in the dropdown menu. Click on the DateioSDKShared.framework and choose Embed & Sign in the dropdown menu.

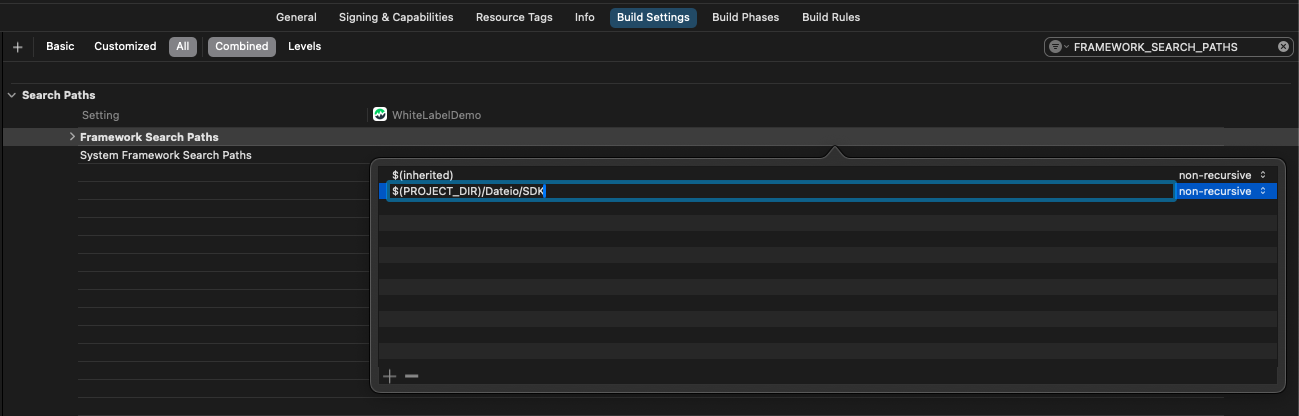
Now, the FRAMEWORK_SEARCH_PATHS in build settings have to be updated. So go to the Targets and click on desired project target and on tab Build Settings. Search for parameter FRAMEWORK_SEARCH_PATHS and add path to directory where xcframeworks are located in the project.
The SDK can now be used in the project.
Adding screens to app
Usage of SDK UI components or views is pretty easy. Just import the SDK and use the specific component.
UIKit example
In the UIKit framework, the SwiftUI component from the SDK is wrapped into the UIHostingController and can be used directly.
Code above will render the same view as in the SwiftUI example below.
UIKit example in Tabbar
Example of using the SDK landing screen as a standalone view in UITabBarController in storyboard:
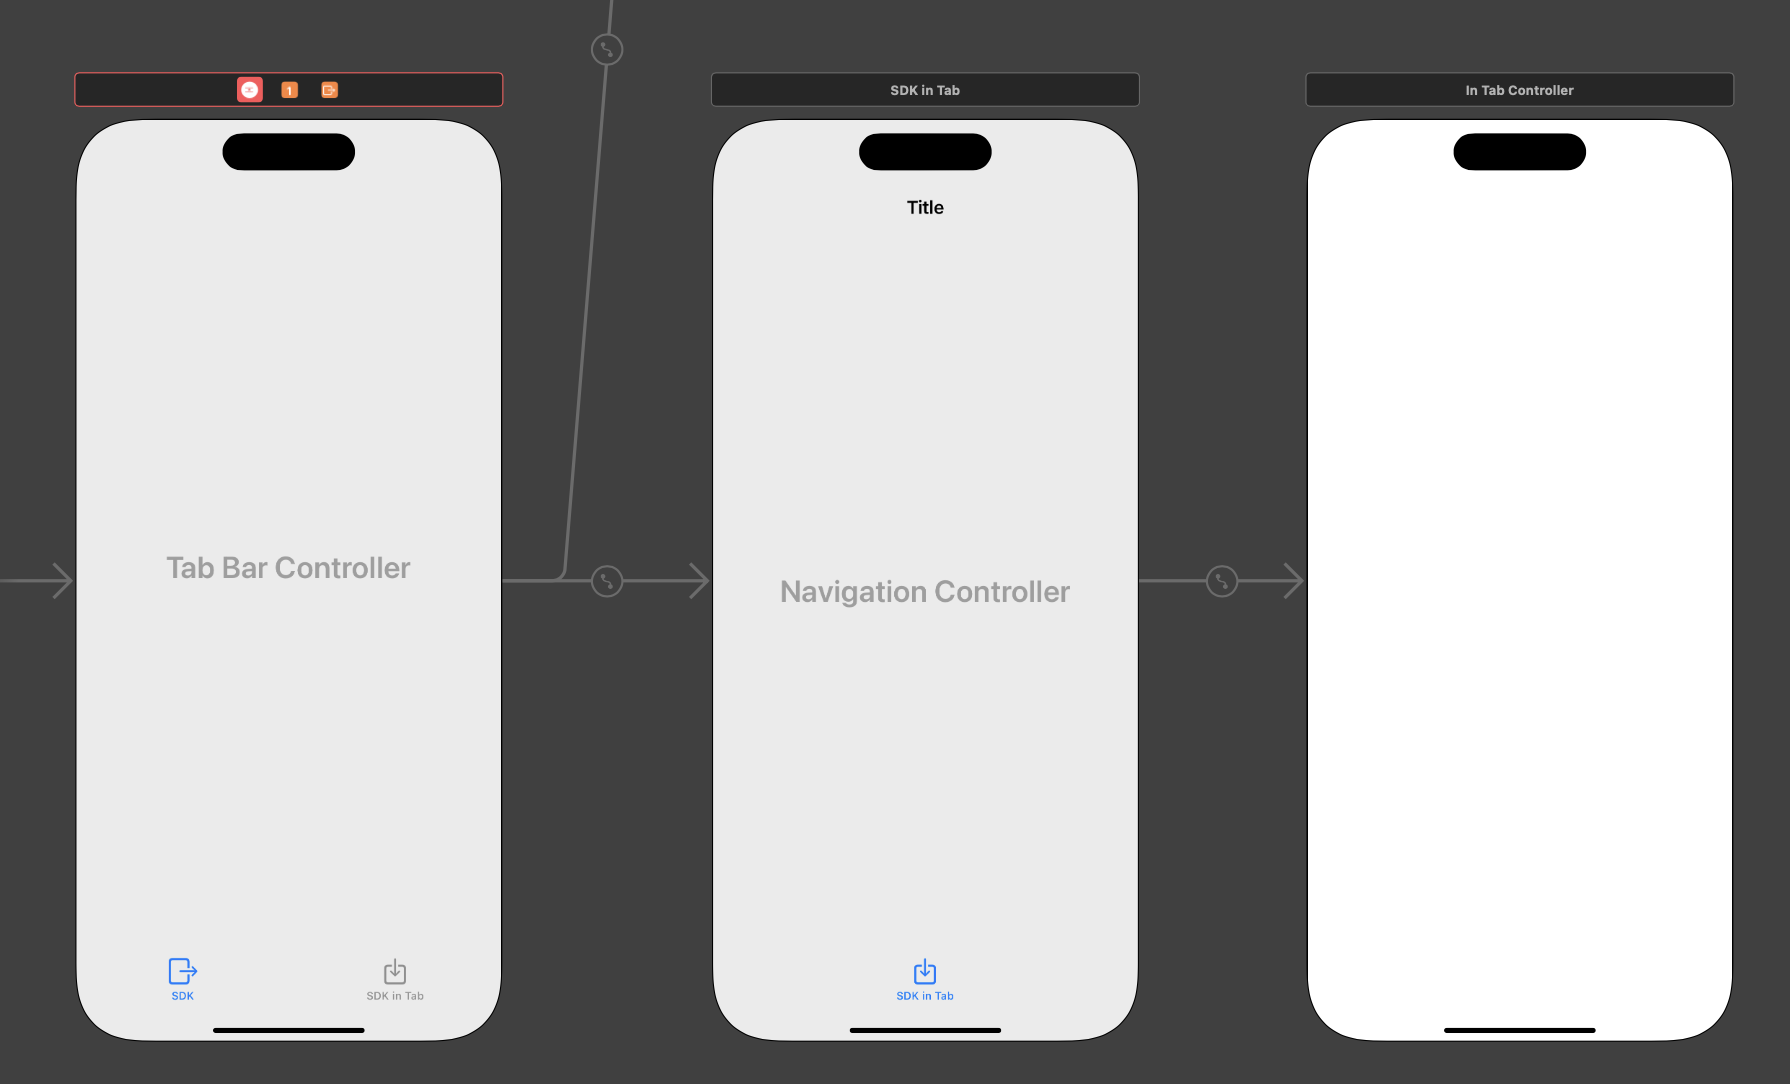
Example of InTabController:
First, the main scene is initialized here, where the UINavigationController is passed. Then the mainScene.showInTabView() function is called to set and insert the SDK landing view into the passed UINavigationController. In order not to display the custom back button in the navigation bar, it is necessary to set the value of var dateio_navigation_back_on_hp: Bool {get} to false (within the DateioSdkNavigationBarConfiguration configuration protocol implementation).
SwiftUI example
This code will render main landing screen (ScrollView with the SDK offers and search UI. The SDK loads data from API, renders UI including details and handles actions).
Where to head next
By this point, you will be able to run application and navigate into screens within SDK. Yet, it won't load any data. In next chapters you will find how to resolve this and how to customize your UI.